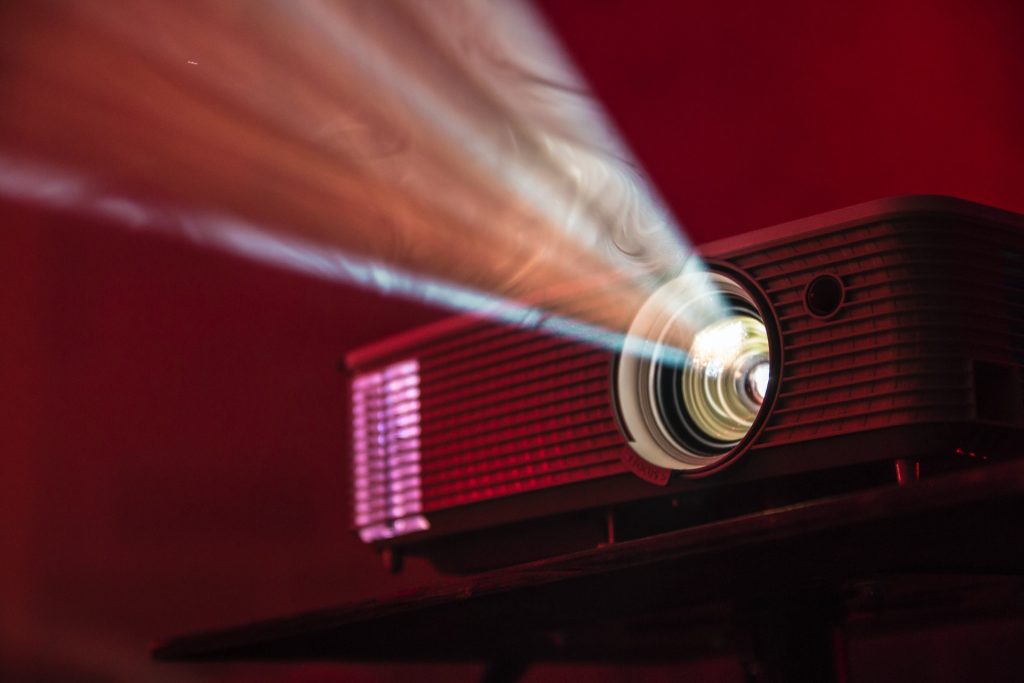
Buying a projector is one thing, but in recreating the movie theatre experience you might be looking for, your choice of an appropriate projector screen must be made carefully.
“Can’t I project my movie with a simple white cloth hanging on my wall or on the wall itself?” is probably what you’re wondering. Well, you could, but best believe that the display wouldn’t be as great and the experience less exciting.
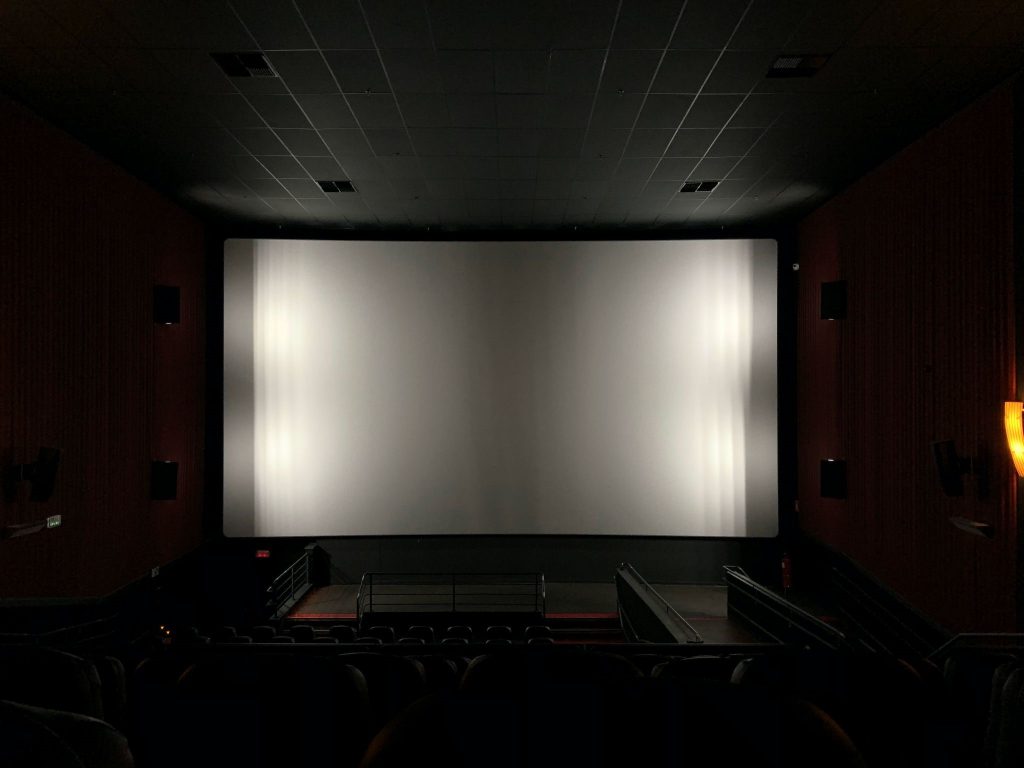
If you’re looking to make your projector screen without having to break an arm and a leg, I’ll show you, but first, let’s look at the qualities a good projector screen must possess. There are numerous types of screens and, in turn, many options to choose from, but the screen to be used has to meet certain criteria to suit perfectly.
Qualities of a good projector screen
A good projector screen must meet the following standards to be deemed suitable for a home theatre.
Texture
A projector screen’s texture and feel should neither be smooth nor rough. This ensures that images are reflected properly.
Ambient light rejection
The ability of a projector screen to reject ambient light effectively is essential. There is ambient light in a room with windows or an outdoor setting, and with a screen that isn’t up to standard, the light would distort the projection of images. However, with ambient light rejection, the light is controlled and reflected without distortion of images.
Screen size
Before getting a projector screen, it is essential to consider the size of the room in which the screen will be placed as it would influence your screen size. The size of the screen to be used must be compatible with the specifications of your projector to ensure that the images are displayed properly.

Screen gain
A standard screen gain ensures that the light reflected from the projector is displayed on the screen in the right proportion. The standard gain of a screen is 1.0; hence before getting a projector screen, you should ensure that the gain is not less than 1.0.
How to make your own projector screen.
For this post, I’ll show you four DIY methods for making your projector screen at home.
Paint a screen on your wall.
Dedicating a particular wall for projecting movies and games could seem absurd for some people, but if you want to turn a room in your house into a movie theatre, this is a great option.
This method is quite easy to use and can be done within a short period. However, you should consider your required screen size and make proper measurements to execute it efficiently.
Required tools
The required tools for the execution of this project include;
- Painter’s tape
- Long ruler
- Pencil
- Primer for the entire wall
- Sandpaper
- Paint rollers
- Dark non-reflective paint
- Theater paint
- Velvet border tape
Procedure
- Once you choose the wall you would like to customize as your projector screen, the next thing would be to use your sandpaper on the surface of the entire wall. This would help to smoothen the surface and prepare it.
- Next, apply your primer on the wall to conceal blemishes and stains and create a uniform surface for the paint to be applied properly.
- Determining the size of your screen is essential and can be tricky. The simplest thing to do would be to turn on your projector and allow an image of your desired size to be reflected on the wall. Use a pencil and ruler to mark around the area carefully.
- Once the area has been meticulously marked, a painter’s tape should be placed around the inner edges of those pencil marks.
- Apply non-reflective paint on the wall, excluding the already marked screen surface, and allow it to dry. Non-reflective paint is important because it reflects light in a controlled fashion.
- When the non-reflective paint dries up, remove the painter’s tape from the inner edges of the screen and place it at the outer edges. Then, carefully paint the screen with the theater screen paint.
- Remove the painter’s tape once it dries and place the velvet border tape around the outer edges of the screen area.
Construct a portable hanging screen.
If you plan to watch movies outdoors and indoors, this is the most suitable option because of its portability. This is also a simple DIY option; you don’t need to break the bank to execute it.

Required tools
- ½inch thick plywood beams (1.2cm or so)
- Velvet projector border tape
- Drill
- A piece of white blackout cloth
- Screws
- Staple gun
- Picture hanging kit
Procedure
- Determine the size of your projector screen and ensure your plywood beams fit that size. Then, attach them to form a rectangle and drill screws to secure the four angles.
- Drill a piece of the shorter plywood beam to the middle of the rectangle vertically to give the frame some extra support.
- Place the blackout cloth on the frame with the brighter side of the cloth, right side up.
- Pull the cloth till it is flat around the edges and secure it at the top, bottom, right, and left sides with two staples each. The staples should be placed in the middle of the sides and not the corners of the frame.
- At the top, keep pulling the cloth flat and placing staples on both sides of the already placed staples till you reach the corners of the frame. Repeat this step at the frame’s bottom, left, and right sides. Pulling the cloth flat ensures that it doesn’t slack.
- Placing staples around the frame, carefully and neatly cut the excess cloth.
- Cover the staples on the edges of the frame with your velvet projector border tape.
- Attach your picture hanger and chord to the back of the frame, then place a hook on the wall for hanging the screen whenever you want to. You can hang your screen on any fixture around for outdoor events and enjoy your movie.
Construct a fixed screen.
If you want to design your movie theater at home and the painted wall screen doesn’t befit your style, this probably would.
The required tools and procedures are the same as those in the second method, the only difference being the absence of a hanging kit and the presence of a hammer and some nails.
Once you have constructed your frame and stapled your cloth to the frame, carefully place it on the wall and use your nails and hammer to attach it neatly. Afterward, attach your velvet projector border tape to the frame’s borders to cover the staples, and you’re good to go.
Construct a free-standing portable screen
Portable screens are great because they serve both outdoor and indoor purposes. This method is for you if you would rather have a portable screen that can stand without support than a hanging screen. It is also affordable and easy to assemble and dismantle, which makes it a perfect fit for people who love to travel and move around.
Required materials
Say you’re constructing a ten-foot by five-foot frame; get these exact materials. However, the lengths of the pipes can be tweaked to fit your required size.
- Two 1-foot PVC pipe (30cm)
- Seven 5-foot PVC pipes (150cm)
- Four 90° joints
- Two tee joints
- Two three-way joints
- White blackout cloth
- Bias tape
Note that all the pipes and joints should be ¾inch thick. (2cm roughly)
Procedure
- Attach two 5-foot pipes to opposite ends of a tee joint to create a 10-foot beam and form the top of the frame. Repeat the step to form the bottom of the frame as well.
- Connect 90° joints to both ends of the top frame and three-way joints to both ends of the bottom frame. Then, attach 5-foot pipes to both sides to complete the frame.
- Attach a 1-foot pipe to the open end of the tee joint at the top and ensure the pipe sits at a 90° angle. Repeat the step at the bottom of the frame as well.
- Fix a 90° joint to the tip of the 1-foot pipe at the top of the frame and attach your last 5-foot pipe to it.
- Connect the 5-foot pipe to the 1-foot pipe at the bottom of the frame, and your frame is ready.
- Ensure your blackout cloth matches the size of your frame and attaches bias tapes to its four corners.
- Tie the bias tapes to the corners of the frame, and your screen is ready.
Conclusion
Projecting movies on your walls is okay, but getting a screen would enhance the quality of your experience. While projector screens are expensive to purchase, building one by yourself is an affordable option I recommend. The materials are cost-friendly, and the steps are easy to follow, so if you’ve been thinking of how to get a projector screen, get your hands busy with building one. You could have a great projector, but if your screen is poor, it equals having a poor projector.